-
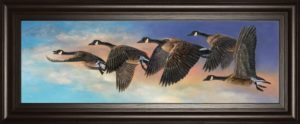
- 1820
- Framed Prints 18x42
18 in. x 42 in. “Flying Without Wings III” By Erin Ashley Mirrored Framed Print Wall Art
- Request Pricing
- FLYING WITHOUT WINGS III BY ERIN ASHLEY
- Read more
-
- 1819
- Framed Prints 18x42
18 in. x 42 in. “Flying Without Wings II” By Erin Ashley Mirrored Framed Print Wall Art
- Request Pricing
- FLYING WITHOUT WINGS II BY ERIN ASHLEY
- Read more
-
- 1818
- Framed Prints 18x42
18 in. x 42 in. “Flying Without Wings I” By Erin Ashley Mirrored Framed Print Wall Art
- Request Pricing
- FLYING WITHOUT WINGS I BY ERIN ASHLEY
- Read more
-
- 1811
- Framed Prints 18x42
18 in. x 42 in. “Sun Flower II” By Natalie Avondet Mirror Framed Print Wall Art
- Request Pricing
- SUN FLOWER II BY NATALIE AVONDET
- Read more
-
- 1810
- Framed Prints 18x42
18 in. x 42 in. “Sun Flower I” By Natalie Avondet Framed Print Wall Art
- Request Pricing
- SUN FLOWER I BY NATALIE AVONDET
- Read more
-
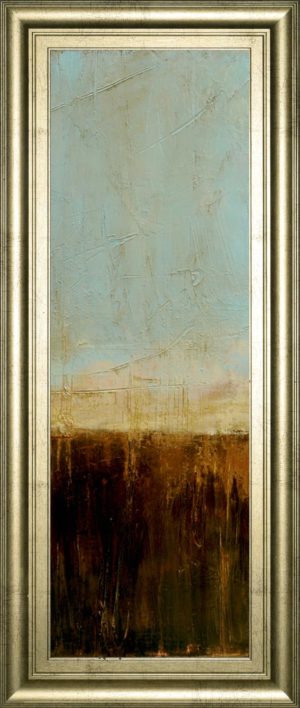
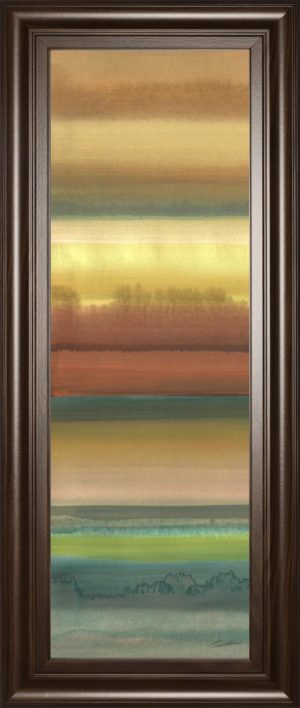
- 1797
- Framed Prints 18x42
18 in. x 42 in. “Ambient Sky Il” By John Butler Framed Print Wall Art
- Request Pricing
- AMBIENT SKY II BY JOHN BUTLER
- Read more
-
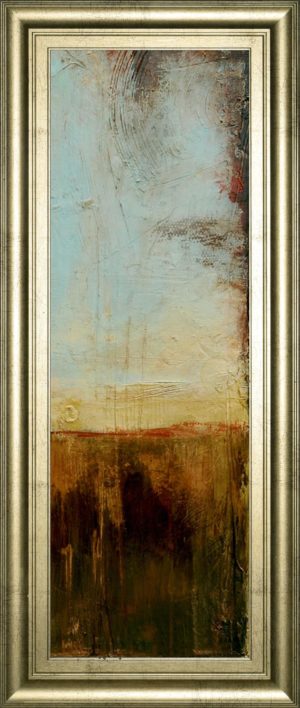
- 1796
- Framed Prints 18x42
18 in. x 42 in. “Ambient Sky I” By John Butler Framed Print Wall Art
- Request Pricing
- AMBIENT SKY I BY JOHN BUTLER
- Read more
-
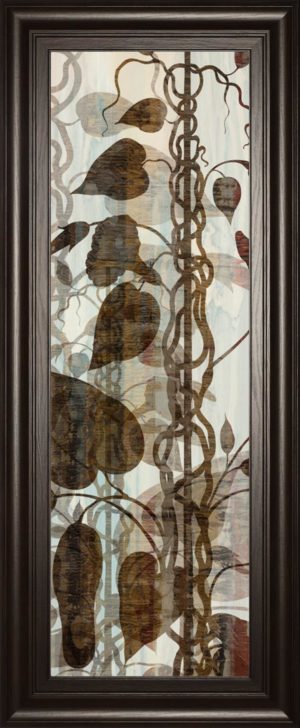
- 1794
- Framed Prints 18x42
18 in. x 42 in. “Climbers III” By James Burghardt Framed Print Wall Art
- Request Pricing
- CLIMBERS III BY JAMES BURGHARDT
- Read more
-
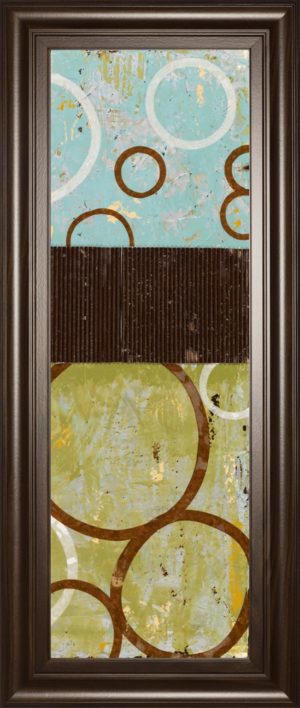
- 1759
- Framed Prints 18x42
18 in. x 42 in. “Gathering Il” By Lorraine Vail Framed Print Wall Art
- Request Pricing
- GATHERING II BY LORRAINE VAIL
- Read more
-
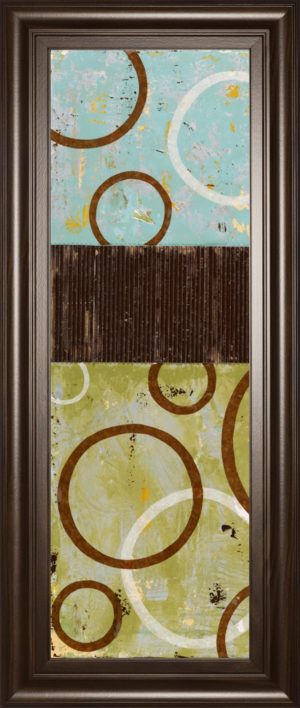
- 1758
- Framed Prints 18x42
18 in. x 42 in. “Gathering I” By Lorraine Vail Framed Print Wall Art
- Request Pricing
- GATHERING I BY LORRAINE VAIL
- Read more
-
- 1751
- Framed Prints 18x42
18 in. x 42 in. “Morning Haze” By Joe Reynolds Framed Photo Print Wall Art
- Request Pricing
- MORNING HAZE BY JOE REYNOLDS
- Read more
-
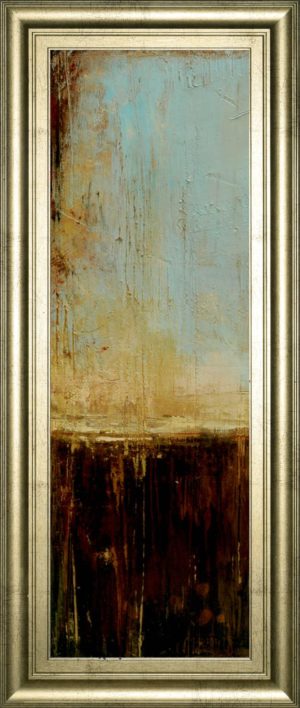
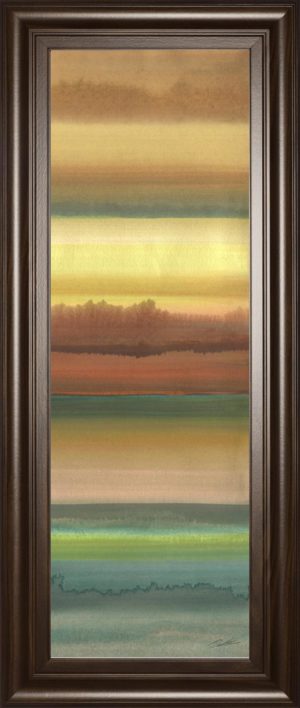
- 1735
- Framed Prints 18x42
18 in. x 42 in. “Distant Treeline Panel II” By Tim Otoole Framed Print Wall Art
- Request Pricing
- DISTANT TREELINE PANEL II BY TIM OTOOLE
- Read more